How to Repurpose Content Using AI: Turn 1 Asset Into 20

Yi
SEO Expert & AI Consultant

If you already have a good blog post, webinar, podcast, case study, or research report, you probably do not need more content ideas first.
You need a better system for turning the content you already trust into formats people will actually see.
That is where AI is useful. Not as a button that magically creates a full campaign, but as a fast assistant for extracting the best ideas, changing the format, drafting platform-specific versions, translating, summarizing, and building a publishing queue.
The best repurposing workflow looks like this:
- Pick a source asset that has already proven useful.
- Extract the strongest ideas, quotes, steps, examples, and data.
- Match each idea to the right channel and format.
- Use AI to draft channel-ready versions.
- Edit for accuracy, brand voice, and platform fit.
- Schedule the assets and track which versions perform.
- Turn winners into more content.
That workflow is simple, but it solves a real problem. In Content Marketing Institute's 2025 B2B research, 55% of marketers said creating content that prompts a desired action was a challenge, and 45% said they lacked a scalable model for content creation. Repurposing does not fix weak strategy, but it can make a strong strategy easier to execute.
What Content Repurposing With AI Actually Means
Content repurposing means taking one existing content asset and adapting it into new formats for new channels, audiences, or stages of the buyer journey.
AI content repurposing means using AI to speed up the repetitive parts:
| Repurposing task | How AI helps | Human role |
|---|---|---|
| Summarizing | Pulls key points from long content | Choose what matters and remove weak points |
| Reformatting | Turns a blog post into threads, carousels, scripts, emails, or outlines | Adapt tone and add context |
| Transcription | Converts audio or video into text | Clean up names, terms, and quotes |
| Translation | Creates first-draft multilingual versions | Localize meaning, examples, and search intent |
| Visual ideation | Suggests graphics, image prompts, and slide structures | Approve visuals and protect brand quality |
| Scheduling | Helps build a content calendar from one source asset | Decide cadence, priority, and goals |
The important part is "adapt." Repurposing is not copying the same paragraph into ten places. A LinkedIn post, email newsletter, Instagram carousel, YouTube description, and blog update should all come from the same idea, but each one needs a different shape.
If you want a fast starting point, Our content repurposing ideas generator can help you brainstorm format options from one source asset before you start drafting.
Start With The Right Source Asset
Not every piece deserves to be repurposed.
Start with content that already has evidence behind it:
- A blog post with consistent organic traffic.
- A webinar with high attendance or strong Q&A.
- A case study sales keeps sharing.
- A podcast episode with memorable clips.
- A research report with original data.
- An evergreen guide that still matches your product or market.
- A video that generated comments, demos, signups, or sales conversations.
I would not start with low-quality content just because it exists. AI can make a weak article louder, but it rarely makes it worth amplifying unless you also improve the argument, examples, and accuracy.
Use this quick priority filter:
| Priority | Repurpose this first | Why |
|---|---|---|
| High | Evergreen pages with traffic, conversions, backlinks, or sales value | Proven demand and longer shelf life |
| Medium | New launches, event recordings, webinars, reports, and product education | Good timing, but may need faster turnaround |
| Low | Old posts with outdated claims, thin ideas, or no clear audience | Fix or retire before repurposing |
Before AI touches the draft, collect the source URL, target audience, original goal, current performance data, brand voice notes, and any claims that must stay accurate.
The AI Repurposing Workflow
Here is the workflow I would use for most teams.
1. Extract The Core Message
First, ask AI to summarize the source asset into:
- Main argument.
- 5-10 key takeaways.
- Notable quotes.
- Useful statistics.
- Step-by-step instructions.
- Examples or stories.
- Claims that need fact-checking.
- Possible short-form hooks.
Junia AI's Summarizer is useful here because it can condense long content into a cleaner working brief.
Prompt:
Analyze this source asset and extract the best reusable ideas.

Return:
1. The main promise in one sentence
2. The strongest 10 takeaways
3. Quotes or phrases worth turning into social posts
4. Steps, frameworks, or checklists
5. Data points that need verification
6. Content angles for LinkedIn, X, email, YouTube, Instagram, and a blog update

Source:
[paste transcript, article, outline, or URL notes]
Do this before asking AI to create new assets. If the brief is messy, every derivative asset will be messy too.
2. Choose Formats Based On The Original Asset
Different source assets naturally produce different derivatives.
| Source asset | Best repurposed formats |
|---|---|
| Blog post | LinkedIn post, X thread, email newsletter, carousel, short video script, infographic |
| Webinar | Blog recap, short clips, Q&A post, email follow-up, audiograms, sales enablement snippets |
| Podcast | Show notes, quote graphics, LinkedIn posts, newsletter, blog post, short audio/video clips |
| Research report | Data visualizations, LinkedIn slides, blog series, executive summary, PR pitch, sales deck |
| Case study | Testimonial graphics, before/after post, sales email, industry-specific landing page copy |
| YouTube video | Blog article, timestamps, Shorts scripts, description, social snippets, newsletter |
| Infographic | Carousel, short article, slide deck, Pinterest pin, social quote cards |
If the source is a blog post, use Junia AI's Blog Post Generator to rebuild the main idea into a clean article format before creating smaller assets.
After that, a headline generator or meta description generator can help package the repurposed piece for search.
If the source is video, Junia AI's YouTube to Blog converter is more useful than a blank prompt because it starts from the transcript and structure of the original content.
For future videos, a script generator and description generator are better planning tools than repurposing tools.
3. Create Channel-Specific Drafts
This is where most people make the biggest mistake. They ask AI for "10 social posts" and accept whatever comes back.
Instead, give each channel a job.
| Channel | Best use | What to avoid |
|---|---|---|
| Point of view, lessons, frameworks, carousels, B2B examples | Bland summaries with no opinion | |
| X / Twitter | Sharp hooks, short threads, quotable insights | Long paragraphs and generic hashtags |
| Carousels, quote cards, visual explainers, Reels scripts | Dense text that cannot be read on mobile | |
| Story, curated insight, practical takeaway, CTA | Copying the blog intro into an email | |
| YouTube Shorts / Reels | One idea, one hook, one clear payoff | Trying to cover the whole article |
| Blog | Expanded explanation, SEO depth, examples, sources | Thin recap of the original asset |

For X, use a focused tool like Junia AI's Twitter/X post generator so the output fits the pace and length of the channel.
Instagram needs a more visual angle, so treat the Instagram post generator as a separate pass. For broader multi-platform work, the bigger question is how to adapt AI-generated content for each platform without making every post sound copied from the same source.
Prompt:
Repurpose this source brief for [channel].

Audience: [who it is for]
Goal: [traffic, engagement, signups, education, nurture]
Tone: [brand tone]
Format: [LinkedIn post, X thread, carousel outline, email, script]

Rules:
- Keep the original idea accurate
- Do not invent statistics or quotes
- Make the opening specific
- Adapt the format to the channel
- Include one clear CTA

Source brief:
[paste brief]
4. Turn Long-Form Content Into Short-Form Video
Short video is one of the strongest reasons to repurpose. Wyzowl's 2026 video marketing data says 69% of video marketers have created social media videos, and 71% believe videos between 30 seconds and 2 minutes are most effective.
That does not mean every blog post needs a video. It means your strongest ideas should probably have a short visual version.
For a blog post, ask AI to create:
- A 30-second script.
- A 60-second script.
- A 5-scene storyboard.
- On-screen text.
- B-roll ideas.
- Caption copy.
- A YouTube Shorts title.
For webinars and podcasts, start with the transcript. Ask AI to find:
- Strong one-minute clips.
- Clear answers to common questions.
- Surprising moments.
- Objections and responses.
- Speaker quotes.
- Sections that can become standalone explainers.
Then use an editor such as CapCut, Descript, or another AI video editor to cut, caption, resize, and export versions for each platform.
5. Turn Blog Posts Into Carousels And Visual Assets
Some ideas become clearer when they are visual.

A blog post can become:
- A 7-slide LinkedIn carousel.
- A quote card.
- A process diagram.
- A checklist graphic.
- An infographic.
- A before/after example.
- A short visual explainer.
The trick is to keep each visual asset focused. One carousel should explain one idea, not compress the entire article.
Prompt:
Turn this article brief into a 7-slide carousel.

Rules:
- One idea per slide
- Short slide headlines
- No tiny text
- Use practical examples
- End with a specific CTA

Return:
Slide title
Slide body copy
Suggested visual
Caption
.png?token=eyJhbGciOiJIUzI1NiIsInR5cCI6IkpXVCJ9.eyJ1cmwiOiJ1c2VyLWdlbmVyYXRlZC1pbWFnZXMvZjJmOThkNWUtNjNjNC00MTJiLTkyY2QtZjgyNDI5NTE3YWRkL2p1bmlhLWFydC1waG90byAoNTEpLnBuZyIsImlhdCI6MTY5MDY1MjY0NiwiZXhwIjoxODQ4MzMyNjQ2fQ.KDFLE5fPefxMPedITZ0GiP7d7I9K7X3YCwSFdP5bQCM)
You can also use Junia AI's AI Content Editor and image tools to create or refine visuals that match the article.
Repurpose By Source Type
Blog Post To Multi-Channel Campaign
A strong blog post can usually produce 10-20 smaller assets.
Example plan:
| Asset | Output |
|---|---|
| Blog post | Original SEO asset |
| Summary | 5-bullet executive summary |
| 2 opinion posts and 1 carousel | |
| X | 1 thread and 5 single posts |
| Newsletter feature | |
| Video | 2 short scripts |
| Visual | Quote card or framework diagram |
| SEO support | Updated title, meta description, and internal links |
If the post is already ranking, do not cannibalize it with a near-duplicate article. Use the derivatives to point back to the original or to support related search intents.
Webinar To Blog, Clips, And Sales Content
Webinars are one of the easiest assets to repurpose because they contain prepared teaching, live questions, objections, quotes, and examples.
Turn one webinar into:
- A blog recap.
- A full transcript.
- Three short clips.
- A Q&A article.
- A follow-up email.
- A LinkedIn carousel.
- Sales enablement snippets.
- Audiograms for the best quotes.
Use tools like Headliner or Audiogram to turn strong audio moments into social clips. If attendees said something valuable in chat or Q&A, ask permission before using quotes as testimonials.
Podcast To Articles And Social Posts
A podcast episode often has more raw material than a blog post because the conversation is less polished.
Use AI to create:
- Show notes.
- Chapter summaries.
- Guest quote cards.
- LinkedIn posts from the best moments.
- Newsletter copy.
- A blog post built around the episode's strongest argument.
- Short clips with captions.
The human edit matters here. AI may flatten the speaker's personality or miss the real insight. Keep the best phrasing when it is accurate and memorable.
Research Report To Slides, Graphics, And Blog Series
Long-form content, such as reports, ebooks, and whitepapers, should not only live behind a form.
Repurpose a report into:
- A blog series by chapter.
- A LinkedIn document post.
- A short executive summary.
- Charts for social media.
- A sales deck.
- A webinar outline.
- Email nurture copy.
The best report repurposing keeps the data visible. Do not turn every chart into generic advice. Pull the numbers, explain why they matter, and link back to the full report.
Infographic To Carousel
Long infographics are often too dense for social feeds. Split them into smaller slides instead.
Process:
- Identify the main story in the infographic.
- Break it into 5-8 standalone points.
- Turn each point into one slide.
- Add a short caption that explains the context.
- End with a CTA to the original page or report.
This works especially well for checklists, workflows, statistics, timelines, and comparison graphics.
Content To Multiple Languages
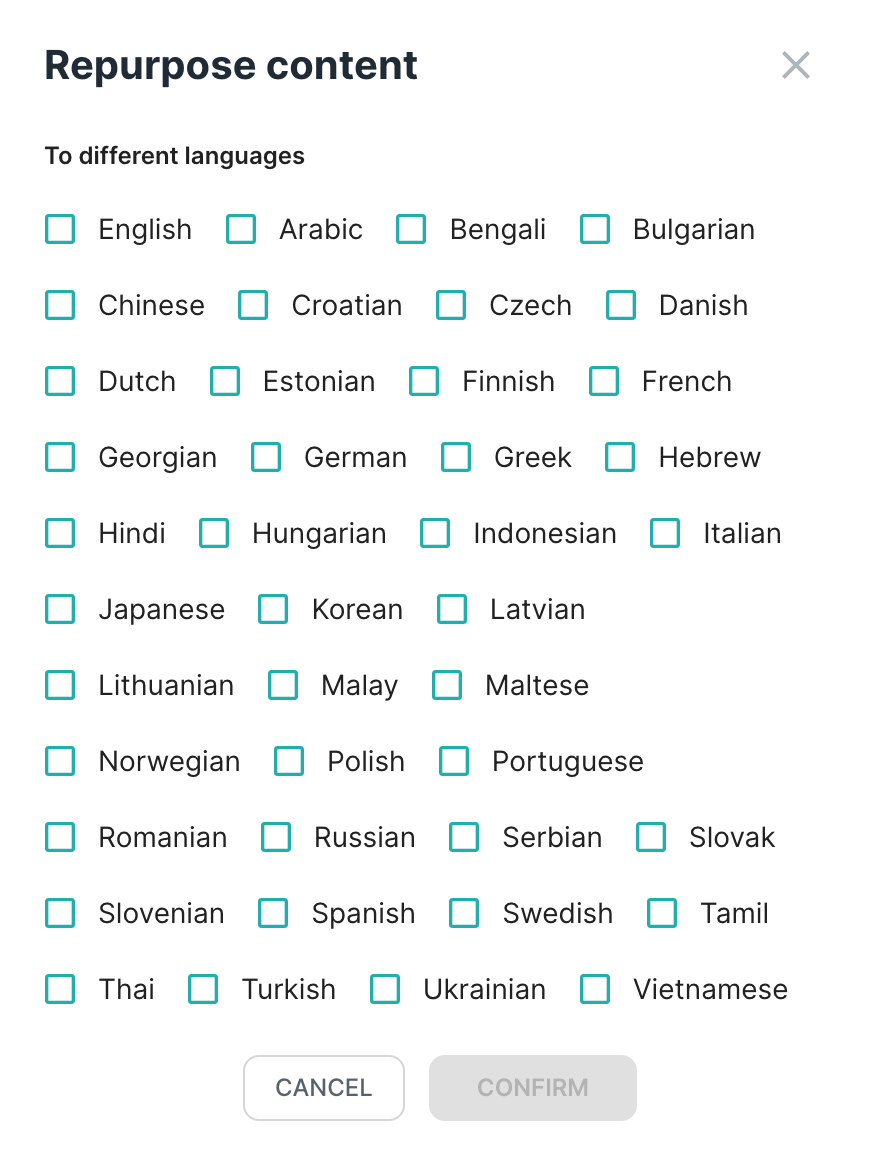
Repurposing is not limited to format. It can also mean adapting proven content for new languages and markets.
AI translation is a good first draft, but the final version still needs localization:
- Match local search intent.
- Adjust idioms and examples.
- Review product terms.
- Check cultural references.
- Use the right hreflang and URL structure.
- Avoid publishing thin machine translations at scale.
For SEO, start with multilingual SEO before you translate anything at scale. The goal is not just to create another language version; it is to match local search intent, internal links, examples, and conversion paths.
When you need to adapt many posts, bulk blog translation can speed up the first draft. If backlinks are limited in a new market, localized content can also support a broader plan for earning organic visibility without relying on link building first.
A 20-Asset Repurposing Example
Here is what one strong 2,000-word blog post could become:
| # | Asset | Format |
|---|---|---|
| 1 | Original blog post | SEO article |
| 2 | Blog refresh | Updated intro, examples, links, and sources |
| 3 | LinkedIn post 1 | Main lesson |
| 4 | LinkedIn post 2 | Mistake or contrarian angle |
| 5 | LinkedIn carousel | 7-slide framework |
| 6 | X thread | 8-12 posts |
| 7 | X single post 1 | Quote |
| 8 | X single post 2 | Statistic |
| 9 | X single post 3 | Quick tip |
| 10 | Instagram carousel | Visual checklist |
| 11 | Instagram caption | Story-led summary |
| 12 | Short video script 1 | 30-second lesson |
| 13 | Short video script 2 | 60-second how-to |
| 14 | YouTube description | Optimized summary |
| 15 | Email newsletter | Curated takeaway |
| 16 | Sales email | Problem/solution angle |
| 17 | Infographic | Workflow or checklist |
| 18 | Presentation slide | Data or framework |
| 19 | Meta description variant | SEO testing |
| 20 | Translated version | Localized article or summary |
You do not need to publish all 20 at once. In most cases, it is better to schedule them over several weeks with a content calendar generator.
How To Avoid Low-Quality AI Repurposing
AI repurposing goes wrong when every output sounds like the same generic summary.
Use this checklist before publishing:
- Does this asset have a clear audience?
- Does it fit the channel?
- Is the hook specific?
- Did AI invent any facts, quotes, or stats?
- Is the CTA natural?
- Does it add context instead of copying the original?
- Is the brand voice still recognizable?
- Is the visual readable on mobile?
- Does it link to the best next step?
Google's documentation on canonicalization is also a useful reminder: duplicate or very similar content across URLs can make it harder to track and consolidate search performance. If you republish similar long-form material on your own site, use canonical signals properly. For social, email, video, and substantially adapted formats, the bigger risk is usually not a "duplicate content penalty"; it is boring content that nobody engages with.
Junia AI's humanizer can help polish drafts, but do not skip manual review. Accuracy, examples, readability, and taste still need a person.
Measure The Repurposed Assets
Repurposing should create feedback, not just more posts.
Track performance by format:
| Goal | Metrics to watch |
|---|---|
| Awareness | Impressions, reach, video views, follower growth |
| Engagement | Comments, saves, shares, replies, watch time |
| Traffic | Clicks, sessions, referral traffic, assisted conversions |
| Lead generation | Form fills, demo requests, downloads, newsletter signups |
| Sales support | Reply rate, meetings booked, content used by sales, deal influence |
| SEO | Rankings, clicks, impressions, backlinks, internal link impact |
The useful question is not "Did repurposing work?"
Ask:
- Which source asset produced the best derivatives?
- Which format earned the strongest response?
- Which channel created useful traffic or leads?
- Which hook should become a bigger article, video, or campaign?
- Which assets should be retired because they did not perform?
This feedback loop is where repurposing becomes a strategy. You are not just recycling content. You are using one strong idea to test messages, learn from the audience, and build a more efficient content engine.
Final Takeaway
AI makes content repurposing faster, but the winning asset is still the one with a clear idea, useful examples, accurate claims, and a format that matches the channel.
Start with one proven asset. Extract the best ideas. Turn those ideas into platform-specific drafts. Edit them like a human. Schedule them with a clear goal. Then measure which versions deserve more attention.
That is how one article, webinar, video, or report becomes 10-20 useful assets without turning your brand into a feed of generic AI summaries.